 ZippyCraft
How do I fix white balance in photos?
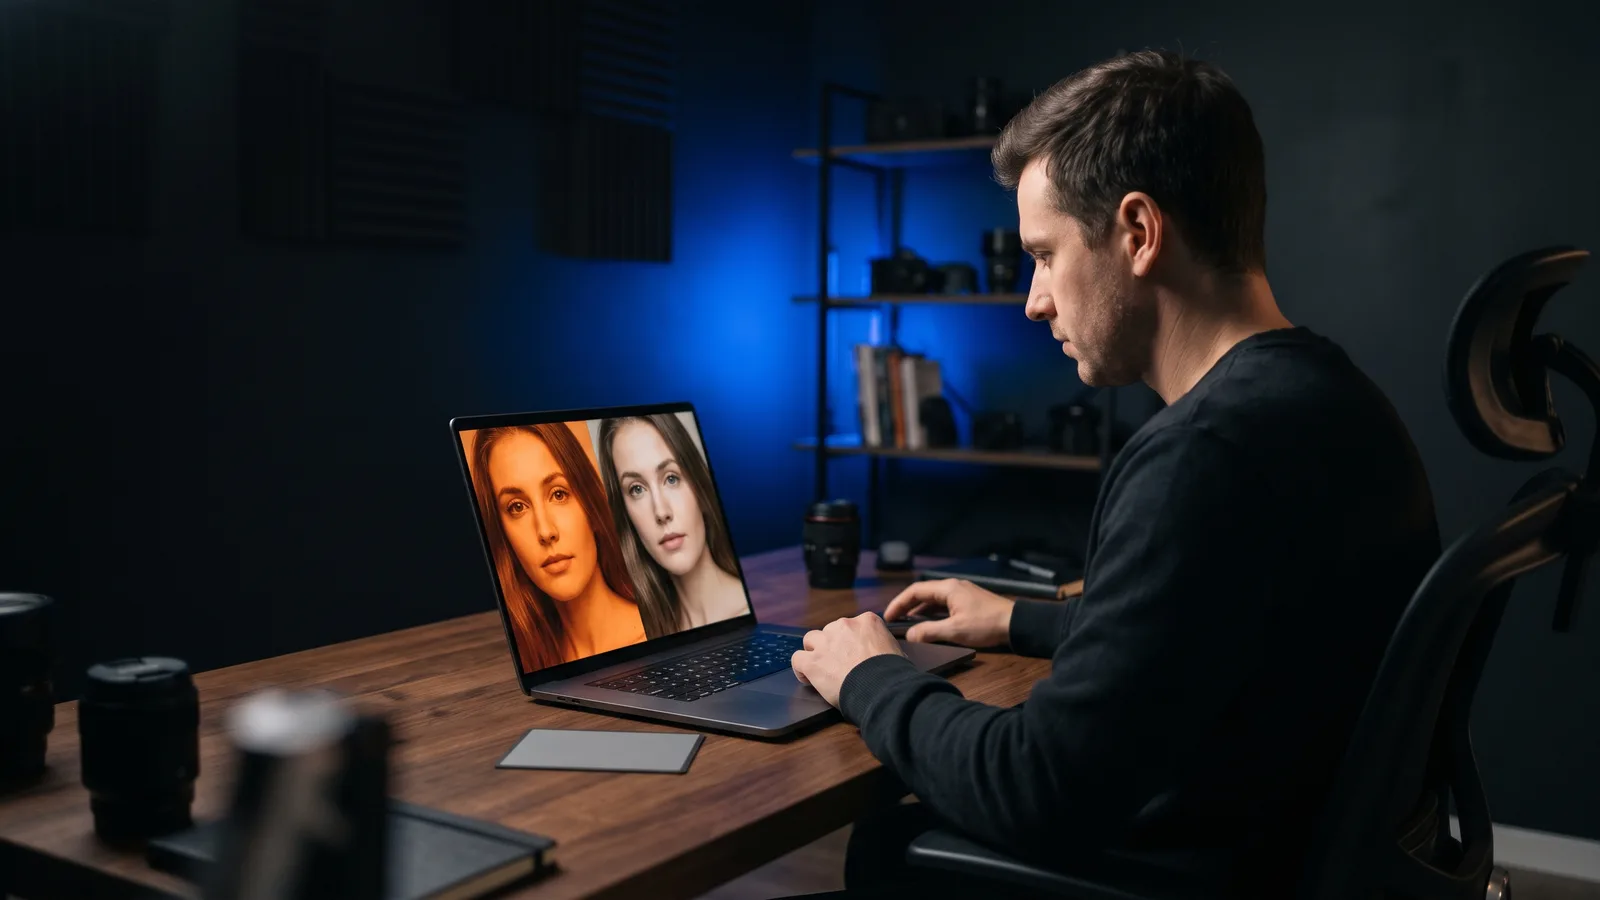
To fix white balance in photos, click the white balance eyedropper on something that should be neutral grey or white, then fine-tune Temp (blue to yellow) and Tint (green to magenta). Skip bright glare spots when you click. Shoot raw if you can, because raw gives you far more room to correct than JPEG.
Key takeaways
- White balance tells your editor what colour the light was, so neutral things look neutral.
- The eyedropper on a neutral spot is the fastest fix. Temp and Tint finish the job.
- Raw files let you set white balance after the shot with more room than JPEG.
- A grey card in the scene gives you a reliable neutral for tricky light.
- If you would rather say "fix the colour cast" and let an AI do it, ZippyCraft does that (see the tools section).
What is white balance?
White balance is the correction that makes white and neutral colours look white and neutral in your photo. Light is not always white. Candles, bulbs, shade and overcast skies each tint the scene, and your eyes adjust without telling you. A camera does not.
When the correction is wrong, you see a cast: blue, orange, yellow or green. If the cast is mostly on people, our post on how to fix yellow skin tones in indoor photos goes deeper. This guide covers white balance in general, outdoors and indoors, and blue casts as well as warm ones.
What do Kelvin, temperature and tint mean?
Kelvin (K) is the unit for the colour of light. Low numbers look warm and orange. High numbers look cool and blue.
Here are rough values from photography education sites (exact numbers vary by camera):
- Candlelight: about 1,000 to 2,000 K.
- Tungsten bulbs: about 2,800 to 3,200 K.
- Clear daylight: about 5,000 to 6,500 K.
- Cloudy sky: about 6,000 to 6,500 K.
- Open shade: about 7,000 to 7,500 K.
- Heavy overcast or deep shade: up to about 9,000 to 10,000 K.
Temperature moves the photo along the blue to yellow line. Tint moves it along the green to magenta line. Tint matters because fluorescent and many commercial lights lean green, and daylight rarely needs it.
A simple rule: if the photo looks too yellow, cool it down. If it looks too blue, warm it up. If skin looks green, add magenta.
How do I fix white balance with the eyedropper?
Use the eyedropper on something that should be neutral. It is the quickest method in almost every editor.
- Open the white balance tool and look at what "Auto" does. It is a fair starting point, not a final answer.
- Pick the eyedropper.
- Click a spot that should be neutral grey or white: a white shirt, a grey wall, a white page, a grey card.
- Avoid pure white highlights and glare. They have no colour information to read.
- Check the preview. Lightroom, for example, magnifies the pixels under the cursor.
- Fine-tune Temp, then Tint.
- Compare with the original. If it looks off, click a different neutral spot.
Two warnings from the research. First, a single pixel in a noisy photo can be a coloured speck, so click a clean area. Second, don't assume an object is neutral. Under coloured light, a cream wall can look grey when it isn't.
Should I use white balance presets?
Presets are fast when you know the light. Typical choices are Daylight, Cloudy, Shade, Tungsten, Fluorescent and Flash. Each one applies a typical Kelvin value, for example around 3,000 K for tungsten and around 7,000 K for shade.
Use a preset when the light is simple and consistent. Use the eyedropper when the light is odd, mixed or hard to name. Auto can misjudge scenes dominated by one colour and give blue, orange or green casts.
Is raw better than JPEG for white balance?
Yes. Raw files let you set white balance after the shot, with wide controls. In Lightroom, a raw file shows real Temp values in Kelvin. A JPEG shows relative sliders centred on zero, because the camera already baked in a white balance.
In one comparison, the corrected raw had cleaner shadows and highlights. The corrected JPEG had less clean colours and some clipped tones. Still, the JPEG result was fairly good, so a JPEG is not a lost cause.
If your camera allows, shoot raw plus JPEG. You get a quick preview file and a flexible original.
Do I need a grey card?
You don't need one, but it helps in tricky light. A grey card is a neutral reference. Shoot a frame with it in the scene, then click it with the eyedropper later.
To use one well (steps from LensVid):
- Hold the card close to your subject.
- Put it in the exact same light as the subject.
- Either set a custom white balance in camera (menus vary, so check your manual) or shoot one reference frame.
- In your editor, click the card with the eyedropper.
- Sync the result to the other photos from that light.
- Repeat whenever the light changes.
How do I fix white balance under mixed lighting?
Pick the light that matters most and balance for it. When different light sources mix, auto white balance tends to average them and can exaggerate the differences.
The reference you pick decides the look. For critical images, correct each lighting region separately.
How do I fix a blue or yellow cast?
Move Temp the opposite way. A blue cast needs a warmer setting. A yellow or orange cast needs a cooler one.
Then check Tint. A green cast needs more magenta. Finally, look at skin, whites and greys again. If you can find one true neutral in the photo, the eyedropper will usually do most of this for you.
Which tools can fix white balance in photos?
Several editors cover this well. Here is how they compare. Prices are as of November 2026 and can change.
ZippyCraft is made by the team behind this blog.
| Tool | Best for | Key features | Price / free option | Watch-outs |
|---|---|---|---|---|
| ZippyCraft (our pick) | Photographers who want the AI to fix colour for them | AI picks something white and uses the eyedropper; fixes yellow and blue casts; calms colour-drenched photos; manual presets, Auto and eyedropper; non-destructive raw editing | 100 free edits, no expiry, the full app with the AI included, no API keys needed | Desktop only (Mac and Windows); AI editing needs internet |
| Adobe Lightroom | A mainstream raw workflow | Temp/Tint, As Shot/Auto/Custom, eyedropper, sync across photos | From US$11.99/mo (annual, billed monthly); mobile app has a free tier; 7-day trial on paid plans | Subscription; you do the clicking yourself |
| Capture One | Precise colour control | Picker for grey cards or white surfaces, Kelvin 800 to 14,000 K, Tint, Auto Adjust | Subscription and perpetual options; exact prices not confirmed, check its pricing page | PetaPixel reported a roughly 6% price rise announced in May 2026 |
| darktable | Free, deep raw control | White balance and Color calibration modules, neutral picker, illuminant options | Free and open source | Two modules work together, and it warns when their settings clash |
| Snapseed | Quick phone fixes | Auto, eyedropper, Temperature and Tint swipes | Price not stated on its help page; check the app store | Aimed at quick phone fixes |
Our pick: ZippyCraft
ZippyCraft is our top pick for this job because you can describe the problem in plain words and let the AI do the work. When a photo has a yellow or blue cast, the AI looks for something that should be white and uses the white balance eyedropper on it. It then checks the result and corrects itself if the cast is still there. It also calms photos drenched in one colour.
It uses the same real sliders you would use, so you can see every step and change anything. White balance presets, Auto and the eyedropper are all there for manual control too. It works on one photo or a whole folder. If you shoot events, our guide to editing 500 wedding photos fast shows the batch workflow, and how to edit photos by telling the AI what you want covers the prompts.
Your originals stay untouched, and every edit is a version you can go back to. You get 100 free edits, no expiry, the full app with the AI included, no API keys needed. Download free.
Adobe Lightroom
Lightroom is the familiar choice, with Temp, Tint, a white balance dropdown and an eyedropper (press W). It offers a magnified preview and lets you sync white balance across photos. Non-raw files only get the As Shot, Auto and Custom presets. It is subscription-based, so you pay monthly.
Capture One
Capture One's white balance tool sits in the Color tab. It has Daylight, Flash, Tungsten and Fluorescent modes, a picker for grey cards or any unclipped white surface, and a Kelvin slider. Its own guidance says Auto Adjust is a first step, not a final fix. PetaPixel reported a price rise of about 6% announced in May 2026, and exact current prices were not confirmed, so check its pricing page.
darktable
darktable is free. It uses a basic white balance module plus a Color calibration module, where you click a neutral area and it averages the patch. It handles awkward light well. The trade-off is that two modules work together, and the app warns you when their settings clash.
Snapseed
Snapseed's white balance tool has Auto, an eyedropper you place on a neutral grey area, and Temperature and Tint controlled by swiping. It is aimed at quick fixes on a phone. Check the app store for its price.
A quick routine for any photo
- Shoot raw if you can.
- Click the eyedropper on a clean neutral spot.
- Adjust Temp, then Tint.
- Compare with the original.
- Sync to the other photos from the same light.
- Use a grey card when the light is tricky.
Sources
- Demystifying White Balance, Digital Photography School
- White Balance tutorial, Cambridge in Colour
- Why Lightroom white balance settings differ for raw and JPEG, Life After Photoshop
- Custom camera white balance with a gray card, LensVid
- Lightroom plans, Adobe
- Remove color cast in Lightroom, Adobe
- White balance in Capture One, Capture One support
- Capture One pricing
- Capture One price increase, PetaPixel
- darktable
- Color calibration, darktable manual
- White Balance, Snapseed Help
Questions, answered
Try ZippyCraft
Tell it what you want. Your originals stay untouched. 100 free edits, no expiry, with AI included.
Download free