 ZippyCraft
How do I edit 500 wedding photos fast?
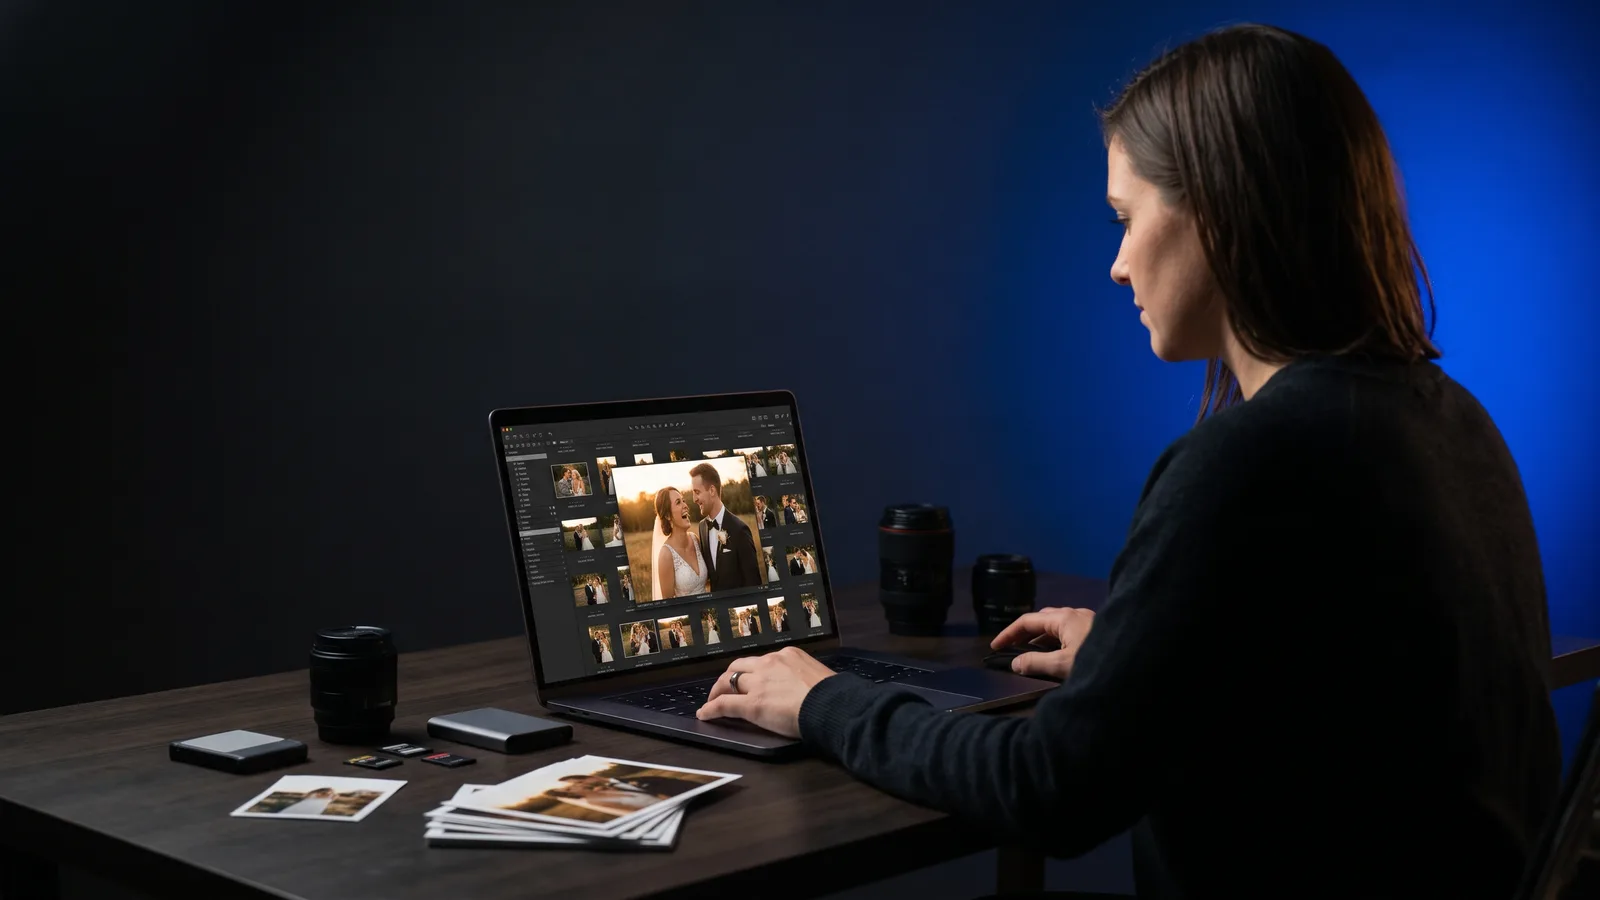
To edit wedding photos fast, cull first, then set one base look, finish one anchor photo per lighting situation, and sync those settings to the rest of the scene. Fix the odd photos last and export in one batch. AI tools can handle the repetitive parts, but you still review the result.
Key takeaways
- Cull before you touch a slider. Editing photos you will never deliver is the biggest time sink.
- Pick one look and stick with it. Changing the style halfway through a gallery is a common reason editing runs long.
- Edit a few anchor photos by hand, then sync. One finished frame per lighting situation can cover dozens of others.
- Leave outliers (high ISO, mixed light, retouching) until the batch is done.
- AI culling and AI editing tools can do much of this for you. Compare them by how they fit your workflow.
What is the fastest workflow to edit wedding photos?
The fastest workflow is an assembly line: cull, base look, sync, fix outliers, export. Each stage does one job, so you never switch back and forth between judging and editing.
One workflow guide puts a full wedding at roughly 3,000 to 6,000 frames, with editing starting once about 600 to 800 remain. It reports culling at about 2 to 3 hours and editing with anchor-and-sync at about 6 to 10 focused hours (PixelPeeper). Your own numbers will differ. If you are starting from 500 photos, the same steps apply, just on a smaller scale.
How do I cull wedding photos quickly?
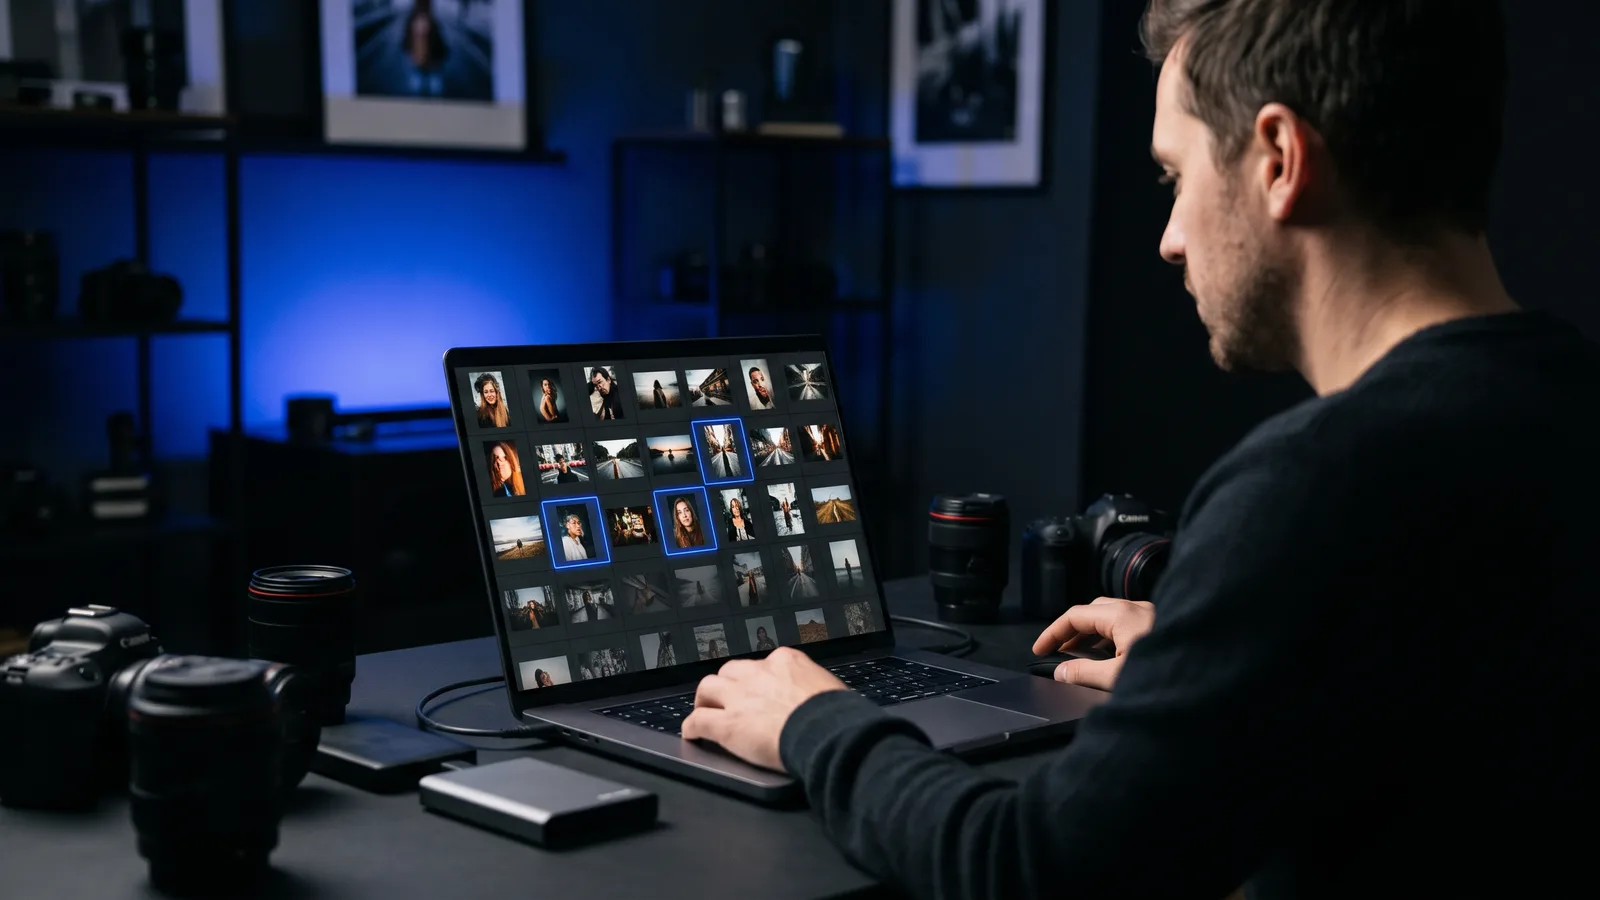
Cull in one pass, with only two decisions: keep or reject. Don't adjust anything yet.
- Cull in a fast viewing mode, not in your editing panel. Lightroom Classic previews load more slowly in Develop than in Library (SLR Lounge).
- Flag keepers and reject the rest. Turning on auto-advance means each decision moves you to the next photo.
- Don't overthink each frame. Make the call and move on (Fstoppers).
- Cull before importing if you can. Using a separate culling program means your editor only loads the keepers.
- Shoot with lower burst rates next time. Fewer near-identical frames means less culling (Fstoppers).
How do I set a base look for the whole gallery?
Choose one style, build it from a preset or profile, and apply it to every kept photo before doing anything else.
Common style families are light and airy, true to colour, dark and moody, and film. Decide before you start and don't change it mid-gallery (PixelPeeper).
Fix colour with the profile first. Then add gentle slider moves rather than heavy colour edits. Save repeatable settings as presets for import, editing and export so you don't rebuild them for every wedding (Fstoppers).
How do I sync edits across hundreds of photos?
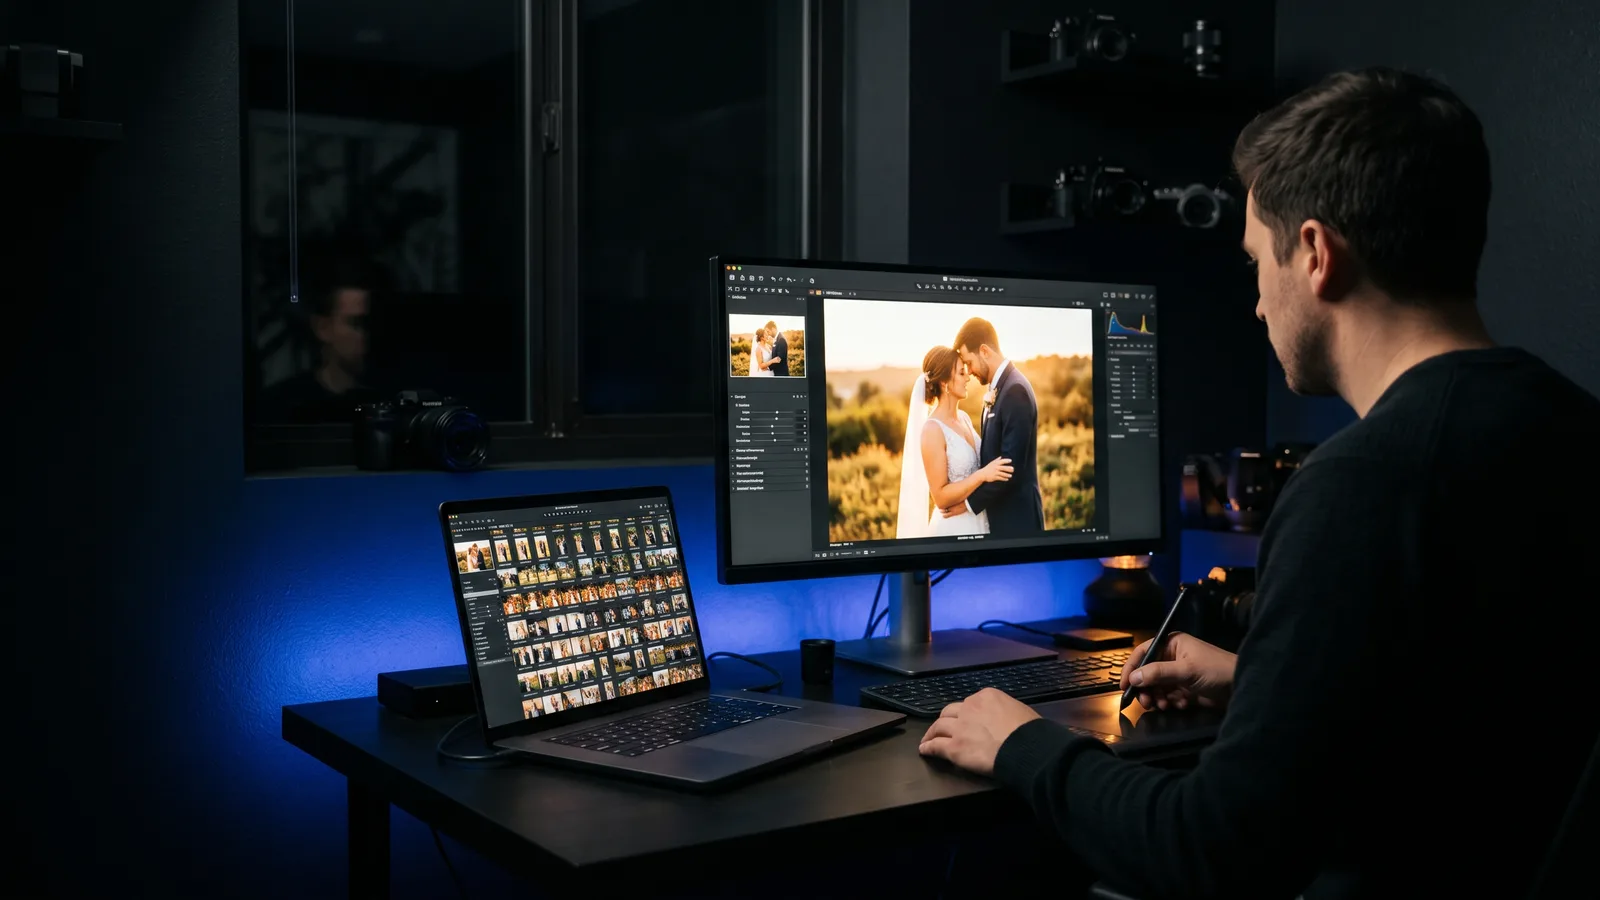
Use the anchor-and-sync method: finish one representative photo per lighting situation, then copy its settings to the rest of that scene.
A wedding typically has only 8 to 12 distinct lighting situations, according to the same guide. Think of getting ready by a window, the ceremony, golden hour portraits and a dark reception (PixelPeeper).
In Lightroom Classic, it works like this:
- Edit the anchor photo in Develop until it is finished.
- Click Copy and choose which settings to include. The Subset menu offers All, None, Modified, Default, or a saved custom subset (Adobe Help).
- Select the other photos from that scene in the Filmstrip and click Paste.
- Use "Previous" to repeat the last image's settings, or Auto Sync to apply your changes to all selected photos as you adjust (SLR Lounge).
- Make small exposure or white balance tweaks per photo.
Consistent camera settings make batching work better, because the same edit lands the same way on every frame.
How do I deal with outliers?
Finish all your batch edits first, then handle the exceptions on their own.
- Group high-ISO photos and sync noise reduction to each group.
- Send only the photos that need pixel-level retouching to a retouching app (SLR Lounge).
- Skip perfectionism on the rest. If a photo looks good, move on.
How do I export quickly and check consistency?
Review the whole gallery at small thumbnail size, then export in one batch with saved export presets.
Small thumbnails make exposure and colour mismatches obvious. Make export presets for each format you deliver, such as full resolution, web and blog, so you never reconfigure settings (SLR Lounge). One guide suggests a long edge of about 3,000 to 4,000 px, quality 85 to 90, sRGB, with location metadata stripped before public sharing (PixelPeeper).
Which tool is best to edit wedding photos fast?
It depends on which stage slows you down. Here is how the main options compare as of November 2026.
ZippyCraft is made by the team behind this blog.
| Tool | Best for | Key features | Price / free option | Watch-outs |
|---|---|---|---|---|
| ZippyCraft (our pick) | Culling plus whole-folder AI editing in one desktop app | Keep the Best Shots, 0 to 100 scoring, plain-English batch edits, versions, pause/stop | 100 free edits, no expiry, the full app with the AI included, no API keys needed | Mac and Windows only; AI editing needs internet; 100 edits cover 100 photos |
| Imagen AI | Applying your personal style to whole galleries | Learns from your past edits; review before saving; works with Lightroom Classic catalogs | 1,000 free edits to start; paid plans from US$0.05 per photo plus a US$7 monthly base, or Limitless at US$129 per year | Needs your past edits to learn your style; culling is an add-on on pay-as-you-go; cost scales per photo |
| Aftershoot | Culling and personal-style editing together | Groups near-duplicates, picks selects, learns your look, works offline | 30-day free trial, no card; separate culling, editing and retouching plans | Culling, editing and retouching are separate plans; check its pricing page for current rates |
| Adobe Lightroom | Manual control with presets and sync | Copy/paste, Sync, Auto Sync, presets, export presets | From US$11.99 per month (annual plan, billed monthly) with a 7-day free trial | Culling and syncing are manual; you do the thinking |
| Narrative Select | Fast AI-assisted culling | Scenes view, AI First Pass with reasons, close-ups panel | Free trial; paid plans (check its pricing page) | Doesn't export finished JPEGs; some features Mac only |
Prices are from each company's own pages and can change.
Why is ZippyCraft our pick for this job?
ZippyCraft handles the two slowest stages, culling and bulk editing, in one app, and you can still take over by hand.
- Culling: "Keep the Best Shots" finds photos taken seconds apart and keeps the best one or two. You see the contact sheet and the reasoning, and you can click any photo to flip it. It also scores each photo from 0 to 100 on focus, open eyes, expression, moment and composition. Blurred shots are flagged automatically and nothing is deleted until you confirm.
- Batch editing: Tell the AI what you want in plain words and apply it to the whole folder. You choose how many photos it works on at once, from 1 to 8, and you can pause or stop at any time. Finished photos keep their edits.
- Control: Every AI change is a version, so you can go back, and the AI uses the same sliders you do. That makes tweaking an outlier easy. It also reads and writes XMP sidecars.
- Tagging: Optional AI tags can label parts of the day such as Getting Ready, Ceremony and First Dance, which helps when you need to find a moment later.
Honest limits: ZippyCraft is a desktop app for Mac and Windows only, and its AI editing needs an internet connection. Also, 100 free edits cover 100 photos, so a full wedding will use more than that.
Download free and try it on one scene from your last wedding.
When is another tool the better fit?
If your priority is a style learned from your own past edits, Imagen AI and Aftershoot are built around that idea. If you already work entirely in Lightroom and are happy to sync manually, Lightroom alone is enough. If culling is your only bottleneck and your editing is already fast, Narrative Select focuses on it.
How do I use ZippyCraft to cull and edit a wedding folder?
Open the folder, cull, edit the whole folder from one instruction, then review. Here is the flow.
- Open the folder. Raw files and JPEGs load into a fast library.
- Cull. Ask it to keep the best shots, then check the contact sheet and flip any you disagree with.
- Say what you want. For example, "bright, warm, true-to-life skin" for every photo in view. Estimated cost and time show before you send, and runs of 40 or more photos ask you to confirm. You can also upload a reference image to match a look.
- Skip what's done. "Skip photos I've already edited" means "next 25" gives you the next 25 new ones.
- Review. Use the Watch It Edit stage or compare with Before/After. Ask in the photo's chat for fixes such as "too warm" or "same for the next 5".
- Fix outliers by hand. Use the sliders, masks and noise reduction.
- Export. Export to JPEG, TIFF or other formats with batch export, sizing and watermarks.
For more on telling the AI what you want, see How do I edit photos by just telling the AI what I want?. For a wider comparison, see What is the best AI photo editor for photographers?.
How long does it take to edit a wedding?
Plan on a full day or more by hand, less with AI help. The guide above puts anchor-and-sync editing at about 6 to 10 focused hours after 2 to 3 hours of culling (PixelPeeper). AI tools can shorten both stages, but results vary by shoot, so time a test run on one of your own weddings.
Do I need AI to edit wedding photos fast?
No. The method works with plain Lightroom. AI adds speed on culling and on the repetitive edits, and the review step is what keeps quality up.
Sources
- SLR Lounge: Lightroom workflow tips for wedding photographers
- PixelPeeper: How to edit wedding photos
- Fstoppers: Eight tips to speed up your wedding workflow
- Adobe Help: Copy and paste edit settings
- Adobe: Lightroom plans
- Imagen AI pricing
- Imagen AI: edit wedding photos fast
- Aftershoot
- Aftershoot pricing post
- Narrative Select
Questions, answered
Try ZippyCraft
Tell it what you want. Your originals stay untouched. 100 free edits, no expiry, with AI included.
Download free