 ZippyCraft
How do I fix yellow skin tones in indoor photos?
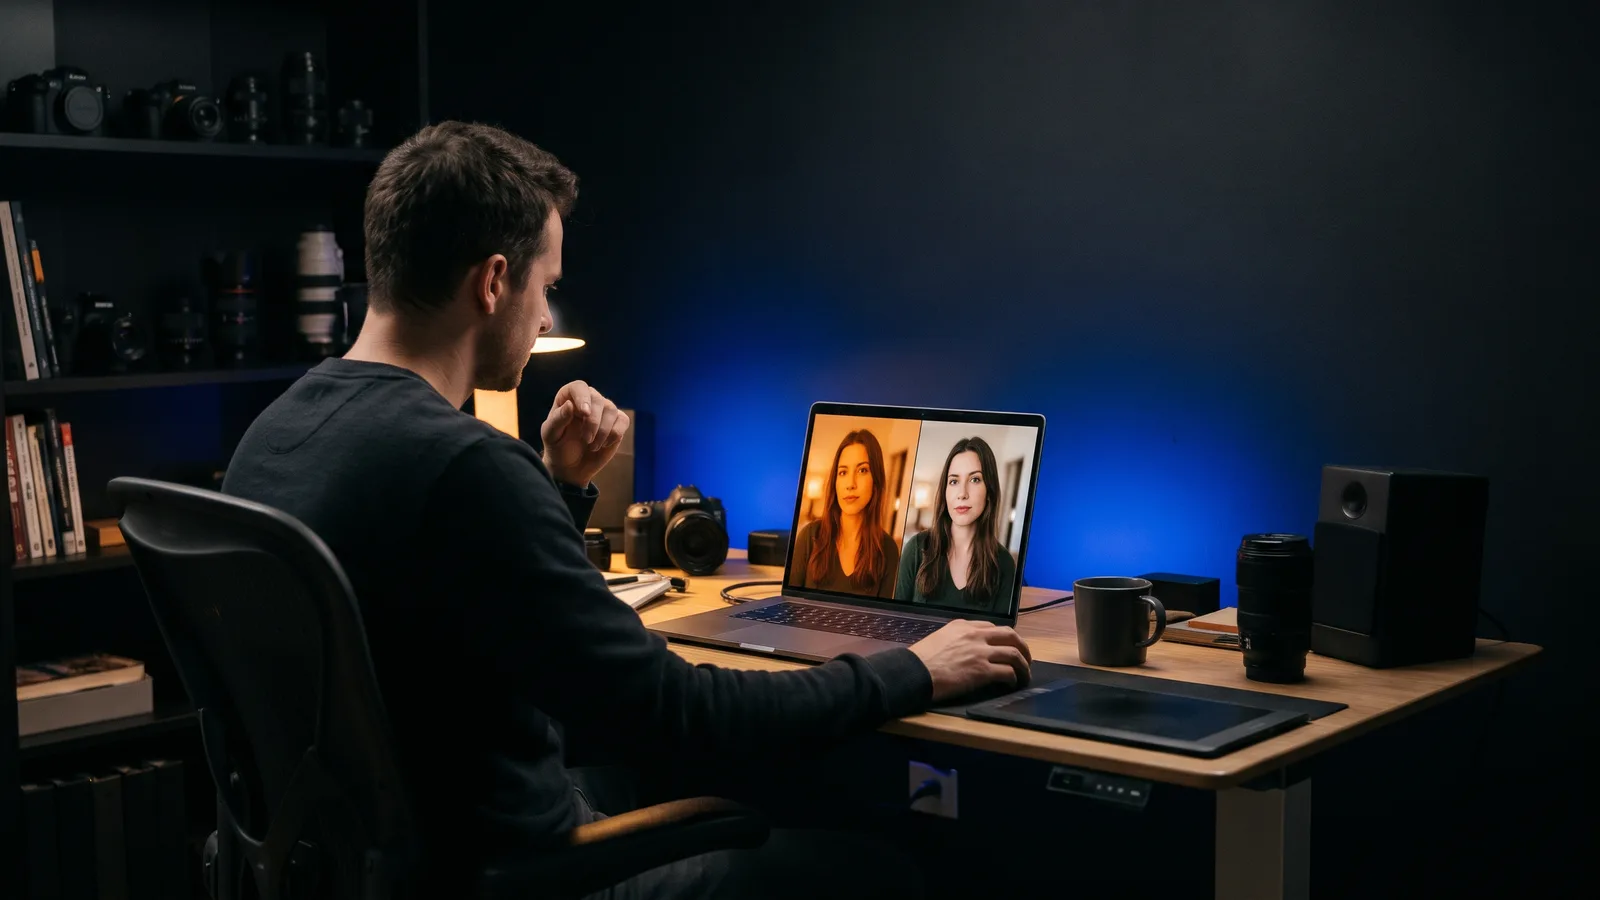
To fix yellow skin tones in indoor photos, correct the white balance first. Cool the Temperature slider, adjust Tint, or click the white balance eyedropper on something truly neutral. If a yellow or orange cast remains, lower Orange and Yellow saturation a little. Shoot raw and the fix costs no quality.
Key takeaways
- Indoor skin turns yellow because warm bulbs, around 2,700K for incandescent, cast orange light and the camera records it as it is.
- Fix white balance before anything else. Treat skin sliders as the second step.
- Use the eyedropper on a neutral: the whites of the eyes, a white shirt or a grey card. Avoid bright specular highlights.
- Raw files let you change white balance with no quality loss. JPEGs tolerate only small nudges.
- ZippyCraft can do the whole job if you tell it "fix the yellow skin".
Why do indoor photos make skin look yellow?
Your camera records light as it actually is, while your brain quietly corrects for it. Incandescent, halogen and warm LED bulbs give off orange light, so skin picks up a yellow-orange cast (Daily Photo Tips).
Colour temperature is measured in Kelvin. Lower numbers look warmer: incandescent sits near 2,700K and daylight near 5,500K. Fluorescent tubes often add green, and window light mixed with lamps gives uneven colour across the frame.
A little warmth is not always a flaw: slightly warm skin often looks nicer than technically neutral skin (Daily Photo Tips). The goal is skin that looks like skin, not a flat grey.
Can I fix yellow skin tones at the time of shooting?
Yes, and it is the easiest fix. Set white balance to match the main light before you press the shutter.
- Choose the Tungsten (Incandescent) preset, or set a manual Kelvin value near 2,800K. Canon lists its Tungsten preset at about 3,200K (Canon).
- Take a test shot and check the screen. If it looks orange, or has swung blue, adjust.
- For the most precise result, set a custom white balance from a grey card.
How do I set a custom white balance in camera?
Shoot a plain white object, or a grey card, so it fills the frame. Use manual focus and a standard exposure. Then register that frame as your custom white balance. Canon notes you should do this under the actual light at the actual location (Canon). Menus differ by brand, so check your camera's manual.
One more Canon tip: in tungsten light, the Auto (Ambience priority) mode can slightly keep the warm cast, while Auto (White priority) reduces it.
Should I shoot raw to fix skin tones?
Yes. A raw file keeps the sensor data, so white balance is non-destructive. A warm tungsten shot taken on Auto can be corrected later with no loss in quality. In a JPEG, big white balance changes alter the stored image and can look artificial (Digital Photography School).
If you only have JPEGs, keep corrections small and check the skin closely.
How do I fix yellow skin tones step by step?
This is the workflow that most editors teach. It works in any raw editor with a white balance tool and a colour panel.
- Set the overall white balance first. Get the colour of the whole frame as close to right as you can before touching individual colours (Photofocus).
- Click the eyedropper on a neutral. Good picks are the whites of the eyes, a white shirt or a grey card (Daily Photo Tips). Adobe's guidance is to pick a grey area and avoid pure white spots such as specular highlights (Adobe).
- Fine-tune Temperature. Move it toward blue to cancel orange. For strongly orange tungsten light, one source suggests cooling by roughly 500 to 1,500K on Lightroom's Kelvin-style scale (Daily Photo Tips). Treat that as a rule of thumb from a single source, not a rule.
- Fine-tune Tint. Left adds green and right adds magenta in Lightroom. Use it if skin looks green from fluorescents or too pink.
- Trim Orange and Yellow in HSL. If skin is still yellow-orange, lower saturation on those channels. Small moves only.
- Restore a little life. If the skin goes flat, add a touch of vibrance. Slightly warm skin often looks nicer than technically neutral skin.
- Compare with the original. Toggle before and after, and check on another screen.
Which HSL sliders affect skin tone?
Most skin sits in the Orange and Yellow channels, with some Red (Daily Photo Tips).
- Orange Hue is the main skin control. Keep moves small, around 5 points either way.
- Orange Saturation is the slider most skin fixes use. Lower it to calm overly colourful skin.
- Orange Luminance brightens skin when raised and adds depth when lowered. Overdoing it can look dirty.
- Yellow is the other channel to check, since most skin sits across Orange and Yellow.
A handy test from Photofocus: temporarily drag Yellow Saturation to its minimum. If the problem disappears, you know which range to work on.
Fstoppers adds a useful order of play: fix white balance first, then lower the Orange channel until the scene looks natural, and add vibrance back if the image loses life (Fstoppers).
What if the room has mixed lighting?
Mixed light is the hard case, because one white balance cannot suit two light sources. Turn off competing lights if you can. Gel your flash to match the room, or use local adjustments to correct different areas separately (Daily Photo Tips).
Capture One's guidance is similar. Automatic modes or a neutral point can leave a cast in mixed light, and the Tint slider can reduce it while staying close to the real scene (Capture One).
How do I fix a whole room of photos at once?
Fix one good frame, then copy its settings to the others shot in the same light. Fstoppers describes copying settings and pasting them onto the other indoor images. If your skin tones vary between shots, make small per-photo tweaks afterwards.
Doing this for hundreds of frames by hand is slow. For big shoots, see How can I edit 500 wedding photos fast?.
How do I avoid over-correcting?
Don't make skin one pure colour. Keep natural variation, such as pinker cheeks and a slightly yellower forehead. Make sure the skin fits the scene's lighting, and compare on another device, since monitor brightness can mislead (Daily Photo Tips).
Which tool is best to fix yellow skin tones?
Our pick is ZippyCraft, because it can do the whole fix from one plain-English request. Say "fix the yellow skin" and the AI works the real sliders for you. It looks for yellow or blue casts so whites look white, using the white balance eyedropper on something that should be white. You can see and change everything it did.
ZippyCraft is made by the team behind this blog.
| Tool | Best for | Key features | Price / free option | Watch-outs |
|---|---|---|---|---|
| ZippyCraft (our pick) | Fixing a cast by asking, on one photo or a whole folder | Plain-language AI edits; white balance eyedropper; Color Mixer; vibrance that protects skin tones; checks its own work; non-destructive raw editor | 100 free edits, no expiry, the full app with the AI included, no API keys needed | Desktop only (Mac and Windows); AI editing needs internet |
| Adobe Lightroom | An all-round raw workflow you run by hand | Eyedropper, Temp and Tint, HSL, copy and paste settings | US$11.99/mo, annual plan billed monthly, with a 7-day free trial (as of November 2026; prices can change) | Subscription; you do the slider work yourself |
| Capture One | Colour-critical work | Kelvin and Tint sliders for white balance | Pro, All-in-One and Studio subscriptions plus a Pro perpetual licence. According to PetaPixel (May 2026), a 6% rise took Pro on annual billing to about $18/mo; prices can change | The official pricing page shows no dollar figures, so check it for current prices |
| darktable | An open-source raw editor | Color calibration module with a neutral-area picker and illuminant presets | Open source (GPL-3.0, per its GitHub page); the project's own pages state no price | More technical; no official Intel Mac builds; the project says it is not a free Lightroom replacement |
| Snapseed | Quick phone fixes | Auto, colour picker, Temperature and Tint | Free, per Tom's Guide | Phone app, aimed at one photo at a time |
Prices can change, so confirm on each tool's official page.
Why is ZippyCraft the pick for this job?
Because the goal is a clean result, not a lesson in sliders. ZippyCraft's AI checks its work after editing, reading its own results on professional scopes such as the histogram and vectorscope, and it explains each step. It also calms photos drenched in one colour, which is exactly what warm indoor light does.
Under that sits a full non-destructive raw editor. White balance has presets, Auto and an eyedropper. The Color Mixer has 8 bands, and vibrance protects skin tones. If you would rather do it yourself, every slider is there. Your originals are never touched, and every AI change is its own version you can step back from.
It is not the only good answer. If you only edit the occasional photo on your phone, Snapseed, which Tom's Guide describes as free, is quick. If you already live in Lightroom or Capture One, their eyedropper and colour tools work well.
To see how plain-language editing works, read How do I edit photos by just telling the AI what I want?. For a wider comparison, see What is the best AI photo editor for photographers?.
How do I do it in ZippyCraft?
- Open a folder of your indoor shots.
- Choose the photo, or select the whole set.
- Type: "fix the yellow skin".
- Review the result. Use Before / After, or reply "a bit warmer" if it went too far.
Download free: 100 free edits, no expiry, the full app with the AI included, no API keys needed.
Quick recap
Fix white balance first, with a preset, a custom reading or the eyedropper. Then trim Orange and Yellow gently. Shoot raw so you can correct freely, and keep a little warmth so skin looks alive.
Sources
- Daily Photo Tips: Why your indoor photos look yellow or orange
- Daily Photo Tips: How to get natural skin tones in Lightroom
- Adobe: Remove color cast in Lightroom
- Adobe: Lightroom plans
- Canon: White balance
- Photofocus: Fixing problematic colors with HSL
- Fstoppers: Indoor color casts
- Digital Photography School: RAW vs JPEG
- Capture One support: White balance
- Capture One pricing
- PetaPixel: Capture One price increase
- darktable manual: Color calibration
- darktable FAQ
- darktable on GitHub
- Snapseed help: White Balance
- Tom's Guide: Snapseed
Questions, answered
Try ZippyCraft
Tell it what you want. Your originals stay untouched. 100 free edits, no expiry, with AI included.
Download free