 ZippyCraft
How do I edit raw photos for beginners?
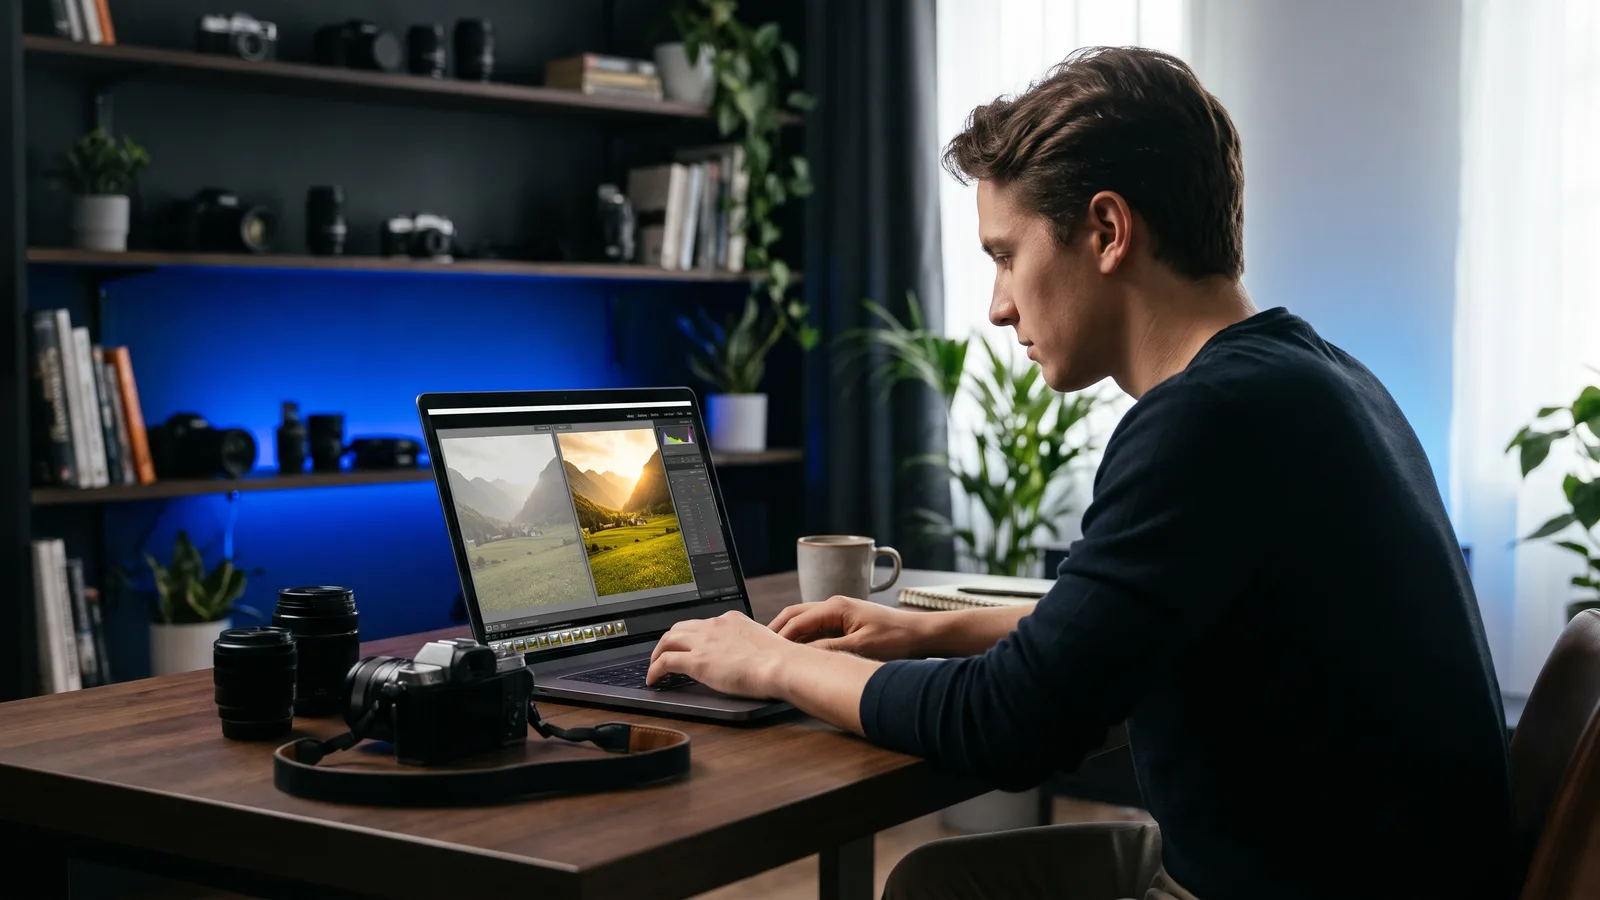
Beginners can edit raw photos by opening the file in a raw editor and working in a steady order: lens corrections, white balance, exposure, highlights and shadows, whites and blacks, colour, detail, crop, then export a copy. Raw files hold more sensor data than JPEGs, so each step can go further without breaking the photo.
Key takeaways
- A raw file is a "digital negative". Your edits are non-destructive, and the original stays untouched.
- Use one order every time. Sources differ on small details, but they agree that a consistent sequence prevents mistakes.
- Make small moves. Very big slider changes often point to a problem in the original shot.
- Free options exist: darktable, plus camera-maker software such as Canon's and Nikon's.
- ZippyCraft lets you ask for an edit in plain words and then watch the sliders move.
What is a raw file, and why edit it?
A raw file stores uncompressed data straight from the camera sensor. Adobe calls it a "digital negative": the raw ingredients you process into a finished photo (Adobe).
That extra data gives you room to move. You can change exposure and white balance much further than with a JPEG, and you can recover shadows and highlights with less grain.
A JPEG has its white balance fixed when the camera makes the file. A raw file lets you set it later.
There are trade-offs. Raw files are much larger, they take longer to edit, and they look flat straight from the camera. That flat look is normal. Editing is what finishes the picture.
What order should I edit a raw photo in?
Use this order: lens corrections, white balance, exposure, highlights and shadows, whites and blacks, colour, detail, crop, export. Photography sources vary a little on where crop and noise reduction sit. The key is to pick one sequence and keep it.
Zoner puts white balance first because it changes how bright the photo seems, and it saves crop for last because rotating removes edge pixels (Zoner). Another guide crops earlier, right after geometry fixes (Daily Photo Tips). Both work. The beginner order below is a safe middle path.
Step 1: Turn on lens and profile corrections
Lens corrections reduce distortion and darkened edges. The effect is bigger on wide-angle lenses and varies by lens (Photoshop Café). Do this early, because it changes pixels that every later step builds on.
Step 2: Set white balance
White balance removes colour casts so whites look white. Click the eyedropper on something that should be neutral, then fine-tune with Temp (blue to yellow) and Tint (green to magenta) (Digital Photography School).
Stuck with yellow indoor light? See How do I fix white balance in photos?.
Step 3: Set exposure
Exposure is overall brightness. Move the slider while watching the histogram, the graph of your tones. Aim for some detail in the shadows and highlights, without peaks jammed against either edge.
The goal here is a balanced starting point, not a finished look.
Step 4: Rescue highlights and shadows
Pull Highlights down to bring back bright areas like sky and clouds. Push Shadows up to reveal dark detail.
Be gentle with Shadows. Pushed too far, a photo looks unnatural fast (Photoshop Café).
Step 5: Set whites and blacks
Whites set your brightest point. Raise them until detail just starts to clip. Blacks set your darkest point. Lower them until the shadows have depth without losing important detail.
Clipping means a tone has gone to pure white or pure black and the detail is gone. In Lightroom-style editors, hold Alt/Option while dragging Whites or Blacks to preview exactly where clipping starts (Daily Photo Tips).
Recovering highlights can leave them looking "milky". A small Whites boost cleans that up.
Step 6: Add colour
Raw files often look flat, so a little contrast helps. Then add colour like seasoning: a little at a time (Digital Photography School).
Reach for Vibrance before Saturation. It protects skin tones and colours that are already strong. Go easy on Clarity for portraits, where it is rarely flattering.
Step 7: Sharpen and reduce noise
Zoom to 100% to judge detail. Sharpen a little, and use the Masking slider so smooth areas such as skin are not sharpened. Then add modest noise reduction.
Too much noise reduction costs sharpness and looks bad (Digital Photography School).
Step 8: Straighten and crop
Level the horizon first, then crop. Standard ratios such as 4:3, 3:2, 16:9 and 1:1 often look more balanced than a random crop (Daily Photo Tips). Cropping late means you judge the whole processed image before you cut anything away.
Step 9: Export a copy
Export never changes your raw file. For the web, a common starting point is sRGB colour, JPEG quality around 85%, and about 2,048 px on the long edge for a website or 1,080 px wide for Instagram. For print, use sRGB or Adobe RGB, TIFF or JPEG, and 300 ppi without resizing (Expert Photography).
Which raw editor is best for beginners?
It depends on your budget and how you like to learn. The table compares the tools we looked at. Prices are as of November 2026 and can change.
ZippyCraft is made by the team behind this blog.
| Tool | Best for | Key features | Price / free option | Watch-outs |
|---|---|---|---|---|
| ZippyCraft (our pick) | Beginners who want to learn by watching | Say what you want and the AI edits with real sliders; full non-destructive raw editor underneath | 100 free edits, no expiry, the full app with the AI included, no API keys needed | Desktop only (Mac and Windows); AI editing needs internet; some compressed raw variants are not yet supported |
| Adobe Lightroom | Following the many tutorials written for it | Raw editing, desktop and mobile, Lightroom Classic included in the plan | US$11.99/mo on an annual plan billed monthly; free trial offered; free mobile app with paid upgrades | Subscription pricing; many sliders to learn |
| darktable | A free, open-source raw developer | Non-destructive raw processing, colour management, GPU processing | Free (open source, GPL 3.0) | Steep learning curve per its own FAQ; raws look flat by default; presets from other programs don't work; no file renaming |
| Capture One | Colour-focused raw work (vendor positioning) | Raw processing with custom camera profiles (vendor claim); colour and tone controls | Subscription or perpetual licence; free trial offered; amounts not on the pages we checked | Priced above Lightroom's plan per PetaPixel's May 2026 figure; the Pro page has no beginner-specific content |
| Canon DPP / Nikon NX Studio | Shooters of one brand who want free software | Basic and advanced raw editing, white balance, tone and colour tools | Canon DPP comes with Canon camera software setup; Nikon NX Studio was free per its March 2021 release | Each is built for its own brand's files; the Nikon details we found date from 2021, so check Nikon for current information |
On price: Capture One's own pages did not list amounts when we checked. PetaPixel reported in May 2026 that its annual plan rose to about US$18 a month, which is a third-party figure.
Lightroom
Most of the beginner tutorials we found use Lightroom, and Adobe lists a free mobile app too. Expect a subscription, and expect to learn a lot of sliders.
darktable
darktable is free and non-destructive. Its own FAQ warns that the learning curve can be steep and that little knowledge from other editors carries over (darktable). It suits patient learners.
Capture One
Capture One describes its raw processing as industry-leading (a vendor claim). Its Pro page has no beginner-specific content. Going by PetaPixel's May 2026 figure, it costs more per month than Lightroom's plan.
Camera-maker software
Canon's Digital Photo Professional and Nikon's NX Studio read their own cameras' raw files. Both cover white balance, tone and colour. Canon says DPP is part of the initial software setup for your camera, and Nikon's press release (March 2021) called NX Studio free. Check each maker for current details. They only help if you shoot that brand.
How does ZippyCraft help me edit raw photos as a beginner?
ZippyCraft is our top pick for beginners because you can learn the order above by watching it done. You tell it what you want, such as "brighter and warmer", and the AI edits with the same real sliders you would use by hand.
Its Watch It Edit stage shows the sliders gliding to new values, with speech bubbles explaining what the AI is doing. The AI also checks its own work and explains each step. So you see why Highlights went down, not only that they did.
Underneath is a full non-destructive raw editor. You get Exposure, Contrast, Highlights, Shadows, Whites and Blacks, white balance with an eyedropper, Vibrance, sharpening and noise reduction, a histogram with clipping warnings, and lens corrections. You can take over any slider whenever you like. Your original files are never touched, and each AI change is its own version, so you can go back in one click.
For crops, you can ask in words ("crop in on the couple") and pick a locked shape such as 4:5 or 16:9.
Want to learn the workflow itself? Try the prompt style in How do I edit photos by just telling the AI what I want?.
Which raw formats does ZippyCraft open?
ZippyCraft opens these raw formats: DNG, Canon CR2 and CR3, Sony ARW, Nikon NEF, Fujifilm RAF (including X-Trans), Panasonic RW2, Leica RWL, Pentax PEF, Olympus ORF and Samsung SRW. Some compressed variants are not yet supported. It also opens JPEG, PNG, TIFF, WebP and more.
Export options include JPEG, PNG, TIFF, WebP, AVIF, JPEG XL, DNG or the original file.
It costs nothing to start: you get 100 free edits, no expiry, the full app with the AI included, and no API keys needed. Manual slider editing never uses up edits. Download free.
For a wider comparison of free options, see What is the best free AI photo editor for desktop?.
What mistakes should beginners avoid?
Most beginner mistakes come from pushing too hard. Watch for these:
- Too much contrast or saturation. Excess contrast can look garish, and too much saturation looks unpleasant (Digital Photography School).
- Clipping. Check the histogram and the clipping preview on Whites and Blacks.
- Editing tired. Fatigue skews your sense of colour and contrast (Daily Photo Tips).
- Huge slider moves. They often mean the capture had a problem, so check what went wrong.
- Changing order each time. A fixed order reduces mistakes.
FAQ
Should I shoot raw or JPEG?
Shoot raw if you plan to edit. Raw gives you far more room on exposure and white balance. The cost is bigger files and more editing time.
Do I have to edit in this exact order?
No. In an editor where you can revisit any slider, order matters less. A consistent sequence still helps you avoid mistakes (Zoner).
Does editing a raw file damage it?
No. Raw editing is non-destructive. You export edited copies, and the original stays unchanged.
Can I edit raw photos for free?
Yes. darktable is free and open source, and Canon and Nikon supply their own raw software. ZippyCraft gives you 100 free edits with no expiry.
Sources
- Adobe: raw vs JPEG
- Zoner: 5 adjustments to make first in every photo
- Daily Photo Tips: Lightroom workflow
- Photoshop Café: Lightroom editing blueprint
- Digital Photography School: basic photo editing for beginners
- Expert Photography: export settings
- Adobe Lightroom
- darktable FAQ
- Capture One Pro
- PetaPixel: Capture One price rise
- Canon Digital Photo Professional
- Nikon NX Studio press release
Questions, answered
Try ZippyCraft
Tell it what you want. Your originals stay untouched. 100 free edits, no expiry, with AI included.
Download free