 ZippyCraft
How do I batch edit photos so they all look the same?
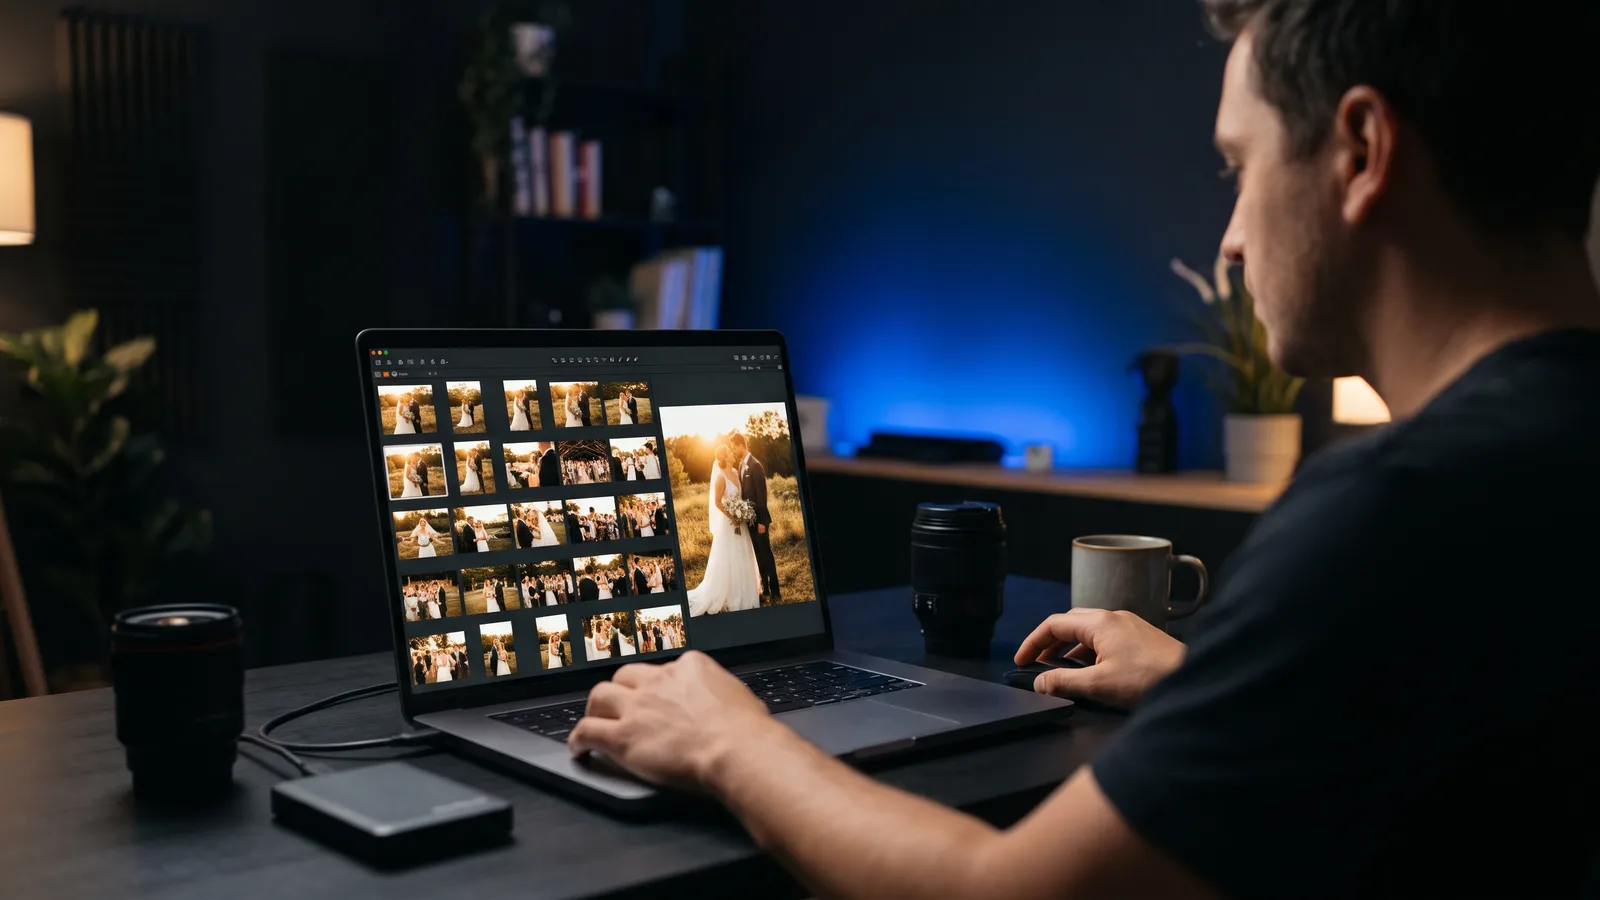
To batch edit photos so they all look the same, perfect one reference photo, copy its look to the rest with a preset or sync, then fix exposure and white balance on each photo that differs. Group photos by lighting first. One preset rarely fits every light change, so expect to nudge individual frames.
Key takeaways
- Consistent does not mean identical. Aim for one coherent look, not the same slider values on every photo.
- Edit one reference photo per lighting group, then spread its look.
- Fix exposure first, then white balance, then everything else.
- Presets, sync and copy/paste all copy the same settings to every photo, so each frame still needs a quick check.
- An AI that edits each photo individually toward the same instructions is another way to get there.
What is the difference between presets, sync and per-photo adjustment?
A preset is a saved set of settings you can apply to any photo. Sync copies the current settings from one photo to others you select. Per-photo adjustment means you correct each frame on its own.
All three have a place:
- Presets are reusable. Save only the settings that define your look, such as tone curve, colour grading and contrast. Leave out crop, spot removal and local masks, because those belong to one image only. (Daily Photo Tips)
- Sync is a one-time copy from a finished photo to a selection. In Lightroom Classic, you edit one image, select the others and click Sync to choose which settings to copy. (jkost.com)
- Copy and paste suits single settings, like a vignette.
- Per-photo adjustment is the last pass. You look at each frame beside your reference and correct what is off.
Think of presets and sync as your starting point. The per-photo pass is what makes a set look consistent.
Why doesn't one preset fit every photo?
One preset fails because light changes, and the same settings land differently on different light. Lighting shifts, such as window light versus tungsten bulbs, change colour and exposure, so a preset that looks right on one frame can look too warm or too dark on the next.
A good rule is that a large correction after applying a preset means the photo belongs to a different lighting group. (Cursa)
If a preset looks different on every shoot, the preset did not change. The light did.
How do I batch edit photos step by step?
Here is the workflow that works in any editor.
- Cull first. Only edit the keepers.
- Group photos by lighting. For a wedding, that might be getting ready, ceremony, portraits and reception.
- Pick a reference photo for each group. Choose a representative frame, not necessarily your best shot.
- Edit the reference fully, with global settings only. Set tone, colour and contrast. Skip crop and local retouching.
- Spread the look. Apply your preset, or sync or paste the reference settings to the rest of the group.
- Fix exposure on each photo. Brightness is the first thing viewers notice when frames sit side by side.
- Fix white balance next. Colour casts change from frame to frame even when the settings are the same.
- Compare to the reference. Keep it on screen. Match brightness first, then white balance, then saturation and contrast. (Cursa)
- Do crops and spot removal last, photo by photo.
Why match exposure and white balance first?
Brightness and colour cast are the differences you see first when frames sit side by side. If one photo is darker or yellower than its neighbours, it will stand out even when the copied settings are identical.
Fix them first, then match saturation and contrast to the reference. If white balance is your sticking point, read How do I fix white balance in photos?.
In Lightroom Classic, "Match Total Exposures" helps with the first step. It matches overall brightness and contrast to the best-exposed image in your selection. (jkost.com)
How do I choose a reference photo?
Choose a frame that represents the group's light and subject, with a clean exposure and neutral-looking whites. It does not have to be the sharpest or the prettiest. It just has to be typical.
Then edit it carefully, because every other photo in the group will be measured against it. Keep it visible next to the photo you are working on so you can compare as you go. Make one reference per lighting group, not one for the whole shoot.
Is Auto Sync a good idea?
Auto Sync is useful but risky. In Lightroom Classic it applies every slider move on your main photo to all selected photos as you make it. That is fast when the photos are alike, and a mess when they are not. Switch it off when you finish, and use Undo or the History panel if changes spread by mistake. (jkost.com)
Which tools help you batch edit photos?
Here is how the main options handle a consistent look. ZippyCraft is made by the team behind this blog. Prices are as of November 2026 and can change, so check each site before you buy.
| Tool | Best for | Key features | Price / free option | Watch-outs |
|---|---|---|---|---|
| ZippyCraft (our pick) | Photographers who want a whole shoot to match without fixing each frame by hand | Edits each photo individually from your instructions; reference images; copy, paste and sync; presets with an Amount slider | 100 free edits, no expiry, the full app with the AI included, no API keys needed | Desktop only (Mac and Windows); AI editing needs internet |
| Adobe Lightroom Classic | Hands-on control with mature sync and presets | Sync dialog, copy/paste, Auto Sync, Match Total Exposures | Lightroom plan US$11.99/month, Photography plan US$19.99/month, 7-day free trial | You do the per-photo fixes by hand; Auto Sync can change photos you did not mean to edit |
| Imagen AI | High-volume shooters with a big edit history | Personal AI Profile learns your style and analyses each photo individually | Pay-as-you-go from US$0.05 per photo plus a US$7 monthly base; Limitless US$129/month billed annually; 1,000 free edits | Per Imagen's own blog: needs 3,000+ edited photos from Lightroom Classic and 24–72 hours of training; needs internet |
| Capture One Pro | Precise copy and apply control | Adjustments Clipboard, selective copy, Styles | Subscription (monthly or annual) and a perpetual licence are listed; amounts not confirmed, so check its pricing page | Copied heal-brush spots stay at fixed positions; one Style on the clipboard at a time |
| Luminar Neo | Hobbyists who like one-click presets | Batch processing, presets | Black Friday sale pricing for "Luminar" (one-time, US$99 to US$159) as of November 2026; temporary sale price, check the site | Batch processing is aimed at photos shot in similar conditions |
Our pick: ZippyCraft
ZippyCraft is our pick for this job because it does the per-photo pass for you. Tell it what you want in plain words, and it edits each photo individually toward the same instructions. Presets and sync copy one set of settings, whereas this works photo by photo. It uses real editing sliders, so you can see and change what it did.
For a consistent look, it gives you several ways in:
- Reference images. Upload one, or use the photo on screen, and the AI matches the look you like. It reads professional scopes as numbers, so a reference gives it target values to match.
- Plain instructions. For example: "same warm look for the next 25." It can work on one photo, a selection, the next N photos or every photo in view.
- Copy, paste and sync. The manual route is there when you want it.
- Presets with an Amount slider from 0 to 200%, with 41 built-in presets. You can save your own and mark favourites.
- Colour casts. It spots and fixes yellow or blue casts, and uses the white balance eyedropper on something that should be white.
- It checks its own work. It looks at the result after editing and corrects it, then explains each step.
Every AI change is its own version, so you can go back in one click. Your originals are never touched. See How do I edit photos by just telling the AI what I want? for how the conversation works.
Download free and try it on a real folder: 100 free edits, no expiry, the full app with the AI included, no API keys needed. One edit covers one photo.
When another tool is a better fit
- Lightroom Classic suits you if you want to control every step yourself and already live in its catalog.
- Imagen AI suits you if you have thousands of finished edits in Lightroom Classic and want a profile trained on your style. It states that it analyses each photo individually rather than applying one fixed set of adjustments.
- Capture One suits you if you want precise, selective copying between photos.
- Luminar Neo suits you if you want one-click presets and a one-time payment option.
Being honest about limits: ZippyCraft is a desktop app only, with no phone or web version, and AI editing needs an internet connection. Editing by hand and replaying past AI edits work offline.
How do I batch edit photos with the AI in ZippyCraft?
Open a folder, say what you want, then review. In practice:
- Open your folder of raw files or JPEGs.
- Edit one photo until it looks the way you want, or upload a reference image.
- Tell the AI: "Match this look on the next 25 photos. Keep skin natural."
- Choose how hard it works: Fast, Balanced or Thorough.
- Watch the run, then review the results. Photos you have already edited can be skipped, so "next 25" always means 25 new ones.
- Reply in the chat if something is off, such as "too warm" or "again but warmer".
- Save the prompt as a recipe so you can reuse it on the next shoot.
Runs of 40 photos or more ask you to confirm, and you can pause or stop at any time. Finished photos keep their edits. For a bigger shoot, see How can I edit 500 wedding photos fast?.
Can AI batch edit photos in my style?
Yes, in two different ways. Some tools train a profile on your past edits. Imagen's Personal AI Profile needs at least 3,000 consistently edited photos from Lightroom Classic and typically takes 24 to 72 hours to train, per Imagen's own review page. (Imagen)
The other way is to show the AI a reference or tell it what you want, which needs no training history. That suits you if you are starting out, switching styles or shooting something new.
How do I keep a look consistent across lighting changes?
Treat each lighting group as its own mini batch. Make a reference for each, name your presets after the light they suit (such as "Overcast Day"), and use the same instructions across groups so the look stays connected. Then do the final side-by-side check.
Common mistakes to avoid:
- Syncing crop, spot removal or masks across photos.
- Skipping the white balance check because the preset "looks right" on one frame.
- Leaving Auto Sync on after you finish.
- Using a single preset for a whole day of changing light.
Sources
- Quickly Applying Settings to Multiple Images in Lightroom Classic
- Adobe Lightroom plans
- Imagen AI pricing
- Imagen AI review
- Capture One Adjustments Clipboard
- Capture One Pro pricing page
- Skylum Luminar pricing
- Skylum Luminar Neo
- How to Batch Edit Photos in Lightroom (Daily Photo Tips)
- Keeping Edits Consistent Across a Photo Set (Cursa)
Questions, answered
Try ZippyCraft
Tell it what you want. Your originals stay untouched. 100 free edits, no expiry, with AI included.
Download free